
A worn dining table sits in the garage. The top is cloudy, the edges carry old drips of paint, and one drawer still opens with the solid feel that only well-made furniture seems to have. That's usually the moment the question comes up. What's the best furniture stripper for this piece?
The right answer depends less on the product label and more on the furniture itself. A casual side table with a failing painted finish invites one kind of approach. A family heirloom, a solid-wood dresser, or a carefully made cabinet deserves another. Stripping furniture isn't just about removing an old surface. It's about deciding how to preserve value, character, and long-term usefulness.
That perspective matters in a family business with roots in South San Francisco going back to 1933. Over the decades, generations of homeowners have faced the same choice. Restore what's worth saving, avoid shortcuts that scar good wood, and know when patience protects an investment piece better than speed.
Readers who enjoy the creative side of restoration may also appreciate these creative furniture upcycling tips, especially when a piece has good bones but needs a fresh role in the home. And for anyone weighing whether an older wood piece is worth the effort, it helps to look at examples of reclaimed wood furniture and notice what lasting material can become with the right treatment.
Giving New Life to a Cherished Piece
A reader often starts with hope and hesitation at the same time. The hope comes from seeing shape, proportion, and craftsmanship under the damage. The hesitation comes from not wanting to ruin something that could still serve for decades.
That tension is healthy. It slows the process down.
A good refinishing job begins with respect for the piece. A thick painted film, a dark varnish gone brittle, or a finish that has alligatored with age can make fine furniture look tired. Underneath, there may still be sturdy joinery, quality lumber, and details worth saving. The best furniture stripper is the one that removes the old finish without asking the wood to pay the price.
Practical rule: If the piece would be difficult or costly to replace with the same level of material and workmanship, it should be treated like an investment piece from the start.
That's why the conversation shouldn't begin with brand loyalty or a “best of” list. It should begin with a simple question. What is being preserved?
For some households, it's sentiment. For others, it's utility. A long dining table that has anchored family meals for years may deserve a patient restoration because replacing that quality with another solid piece isn't a small decision. Buy-it-for-life thinking applies here. Keeping a good piece in service can be the more sustainable path, and often the wiser long-term value decision as well.
Why stripping matters more than people think
Furniture stripping sets the tone for everything that follows. If the old finish comes off unevenly, stain absorbs poorly. If the wood gets gouged, no beautiful topcoat can hide it. If veneer is thinned or softened, the repair becomes much harder than the original project.
The job looks messy on the surface, but it's really a judgment exercise. That's why the patient approach usually wins.
First Understand Your Furniture's Story

Before any stripper touches the surface, the wood and the finish need a basic diagnosis. Many articles skip this step, but wood species compatibility is one of the biggest reasons refinishing projects go sideways. Porous woods like pine can react differently than dense hardwoods like oak or mahogany, and that difference can affect both removal and the risk of surface damage, as noted in this guide to choosing the best furniture stripper for your project.
A second question matters just as much. Is the piece solid wood, veneer, or a mix of both? That distinction changes how aggressively a surface can be scraped or sanded. Readers comparing construction methods can benefit from this look at solid wood vs. veneer, because the stripping strategy should always respect the layer beneath the finish.
Start with what the eye can see
A quick visual inspection tells a lot.
- Open grain and softness: Pine often shows a softer surface and more pronounced dents.
- Tighter, heavier grain: Oak and mahogany usually present as denser hardwoods.
- Thin edge lines or pattern repetition: Those can suggest veneer.
- Cracking or crazing on top: That often points to an older film finish rather than paint alone.
Good light helps. So does looking underneath the piece, inside drawers, or at the back panel where the finish may be thinner or absent.
Use simple tests before making a choice
A careful homeowner can learn a great deal without damaging the furniture.
- Test a hidden area first. Choose the underside of a rail, the back leg, or an interior corner.
- Lightly rub the finish with a cloth. The goal isn't to strip it yet, only to see whether it softens, smears, or stays hard.
- Check for layers. A painted piece may have multiple generations of coatings, and each layer can behave differently.
- Look at damaged spots. Chips and worn corners often reveal whether the finish sits on top like a shell or has soaked further into the wood.
Old furniture rarely fails in a neat, uniform way. One panel may strip easily while the surrounding trim holds on. That doesn't mean the product failed. It usually means the surfaces were finished differently.
The best furniture stripper for a broad, flat tabletop may not be the right one for turned legs, carved trim, or veneered drawer fronts. Furniture tells its story in material, age, and construction. The more clearly that story is read at the beginning, the fewer mistakes show up at the end.
The Three Main Types of Furniture Strippers

Once the wood and finish are understood, the field narrows to three broad categories. Each one solves a different problem. None is perfect for every job.
Solvent-based strippers
These are the products many people picture first. They're designed to break down finishes efficiently and are often chosen when the coating is thick, stubborn, or layered.
Their main advantage is strength. Their main drawback is that they can be harsh to work with, especially indoors. That means ventilation, protective gear, and restraint matter.
A solvent-based stripper often makes sense when a piece has a heavy build of old finish and the surface itself is sturdy enough to tolerate active removal.
Caustic strippers
Caustic products are often associated with paint removal. They can be effective on some jobs, but they also demand caution around wood itself.
That caution matters because the goal isn't merely to remove a coating. The goal is to preserve the shape and texture of the furniture underneath. On some woods or decorative details, a strong caustic approach can create extra cleanup and more risk than benefit.
Biochemical and eco-friendlier strippers
This category has become more relevant as households look for lower-odor, lower-toxicity options. These formulas usually ask for more patience, not less.
In comparative testing, citrus-based formulas performed especially well for removing a single layer of paint when left overnight, and they were described as working especially well for that one-layer-at-a-time approach in this hands-on furniture stripper test. That doesn't make them universally best. It does make them a strong option when controlled removal matters more than speed.
A practical comparison
| Type | Best fit | Main strength | Main caution |
|---|---|---|---|
| Solvent-based | Thick or stubborn finishes | Strong action on difficult coatings | Strong odor and careful handling |
| Caustic | Certain paint-heavy projects | Useful for some heavy film removal | Can be hard on wood and cleanup |
| Biochemical or eco-friendlier | Controlled removal and lower-toxicity preference | Gentler working conditions | Slower results and longer wait times |
The best furniture stripper isn't the most aggressive formula on the shelf. It's the one that matches the piece, the finish, and the working conditions.
A slower remover can still be the better choice if it protects edges, veneer, and carved detail that can't be put back once lost.
How to Select the Right Stripper for Your Project
Shoppers often look for one winner. In practice, selection works better as a series of filters.
The first filter is the finish itself. Thick paint buildup, old varnish, lacquer, and mystery coatings don't all respond the same way. The second filter is the furniture. A broad farmhouse tabletop can tolerate a different workflow than a delicate cabinet door with applied trim. The third filter is the room where the work will happen. Indoor projects place more pressure on odor, ventilation, and cleanup.
Modern safer strippers, especially those that avoid older methylene chloride formulas, work more slowly and can require up to 24 hours of dwell time for effective removal, as discussed in Fine Homebuilding's review of safer strippers. That single fact changes how a project should be planned.
Questions that narrow the choice
- Is the piece delicate or sturdy? A carved antique usually benefits from a gentler, slower approach.
- Is the work happening indoors? If so, lower-odor options become more appealing.
- How many layers are present? More buildup usually means more dwell time and more than one pass.
- Is speed the priority, or preservation? Investment pieces should lean toward preservation.
A common source of refinishing mistakes is the expectation that a modern “safer” product will work like the old fast-acting formulas people remember. It usually won't. The product may still do the job well, but the workflow has to adjust around patience.
The best match for common scenarios
A painted side table with plain surfaces may justify a stronger remover if the work area is appropriate and the wood isn't easily damaged. A family sideboard with veneer, inlay, or sentimental value usually calls for a slower pace and more testing.
For Bay Area homeowners, that choice often intersects with indoor living, tighter neighborhoods, and a preference for lower-impact materials. In those settings, the best furniture stripper may not feel “best” in the first hour. It may feel best the next day, when the old finish lifts cleanly and the wood underneath is still crisp.
Good selection sounds less like “What removes finish fastest?” and more like “What gives this piece the best chance of looking right ten years from now?”
That's the mindset worth keeping. Furniture stripping is not a race. It's a preservation decision.
A Step-by-Step Guide to Stripping Furniture Safely
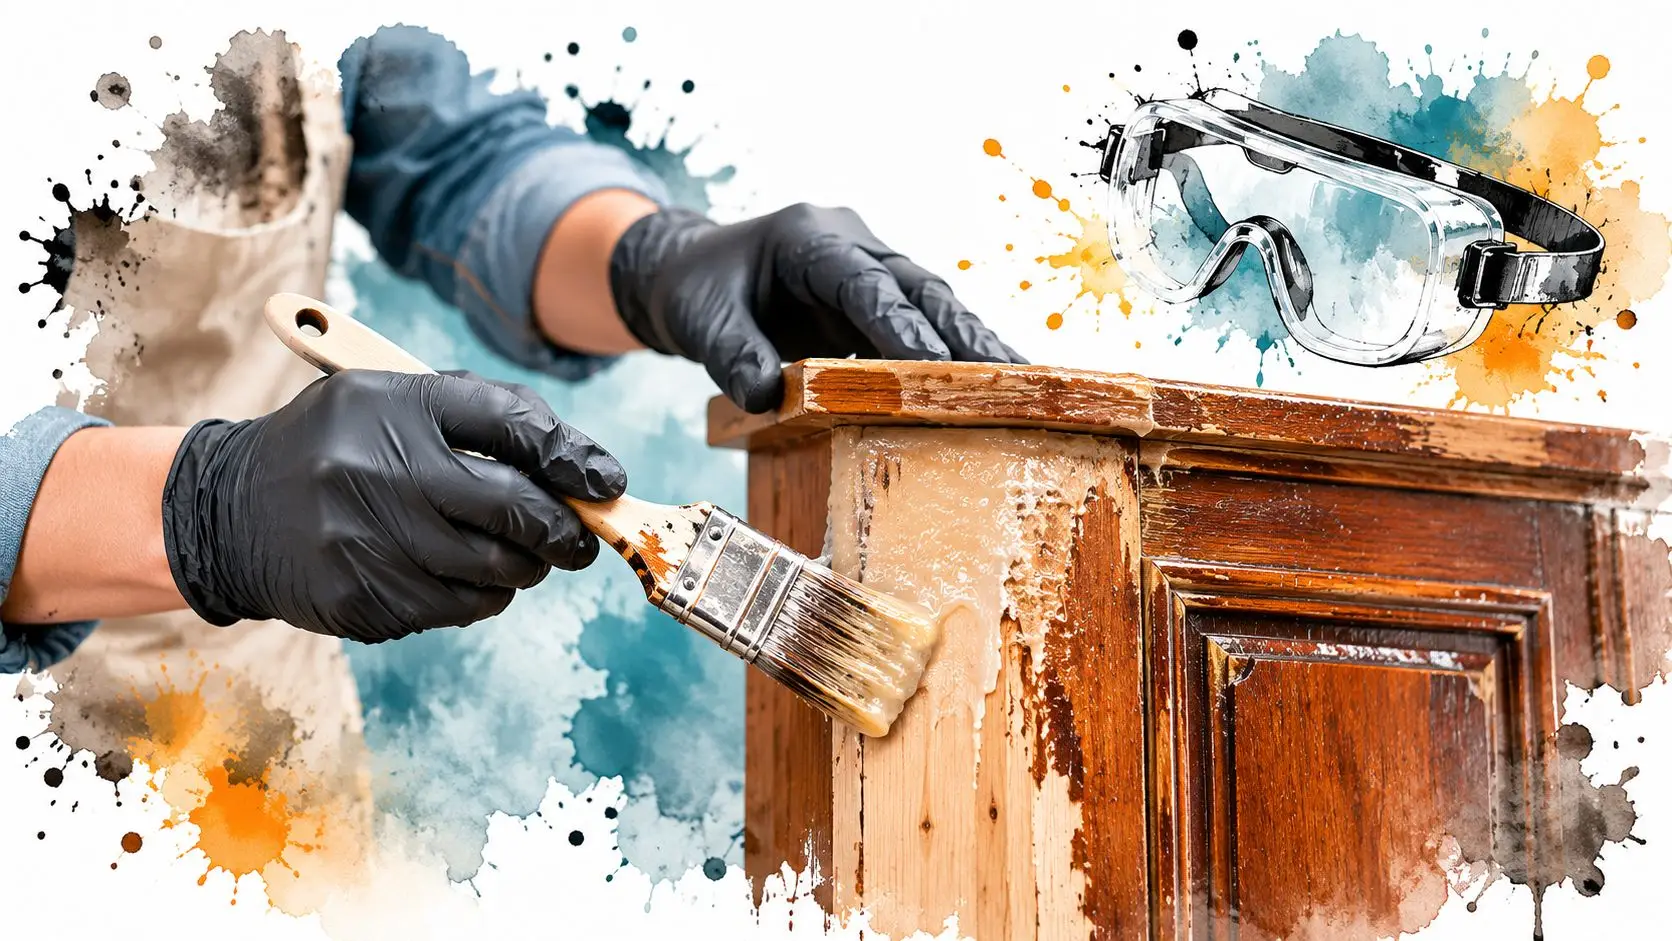
A careful process protects both the worker and the furniture. Patience is demonstrated through this approach.
Prepare the workspace first
Choose a space with steady airflow and enough room to move around the piece without bumping into wet surfaces. Protect the floor. Keep tools close before starting, because searching for a scraper with stripper on the wood usually leads to drips and rushed decisions.
Protective gloves and eye protection matter. So does reading the label before opening the container.
Readers who want another practical reference point for safe setup and removal can review this Painters North Shore paint stripping advice, which aligns with the idea that preparation often determines the quality of the result.
Apply enough product to let it work
One of the most common mistakes is applying too little stripper. It looks tidy, but it often fails.
Guidance on chemical stripper performance notes that the work area should be at least 15°C (59°F) and that gel should be applied at 3–4 mm thickness for proper penetration. The same guidance also notes that covering the gel with plastic film instantly doubles effectiveness by reducing evaporation, according to this article on choosing a chemical stripper for wood.
That leads to a simple sequence:
- Check temperature: If the room or shop is below 15°C (59°F), results can suffer.
- Brush on a full coat: Aim for the recommended 3–4 mm layer, not a thin skim.
- Cover with plastic film: This keeps the surface active instead of letting it dry out.
Let the chemistry do the heavy lifting
The waiting period is where many projects are rescued or ruined. If the stripper hasn't softened the finish enough, scraping becomes forceful. Forceful scraping damages wood.
A better approach is to leave the product alone, check a small edge, and only proceed when the finish visibly loosens. On investment pieces, patience is cheaper than repair.
Shop habit: If scraping feels like hard work, the finish probably needs more dwell time, not more pressure.
Remove softened finish with control
Lift the softened coating gently. Work with the contours of the furniture, not against them. Flat areas allow longer passes. Moldings, corners, and carved parts need shorter, more deliberate motions.
Avoid turning removal into a gouging contest. The goal is to separate finish from wood, not wood from wood.
For broad surfaces, a proper scraper or flexible removal tool gives better control than improvised hardware. For crevices, a softer brush or detail tool may be safer than trying to dig material out aggressively.
Clean the surface before moving on
Once the old finish is off, the surface needs to be cleared of residue. Sticky remnants usually mean one of three things. The stripper dried too early, the finish wasn't fully released, or the cleanup was rushed.
At this stage, a homeowner should think ahead to the final appearance. A fresh finish only looks as good as the preparation underneath. Those planning a restored look that highlights grain and tone may find it helpful to browse examples of custom wood finishes and notice how much clean surface preparation shapes the final result.
A successful stripping job leaves wood ready for sanding, touch-up, or refinishing. It shouldn't leave deep scratches, softened profiles, or smeared residue locked into the grain.
Eco-Friendly Options and Troubleshooting
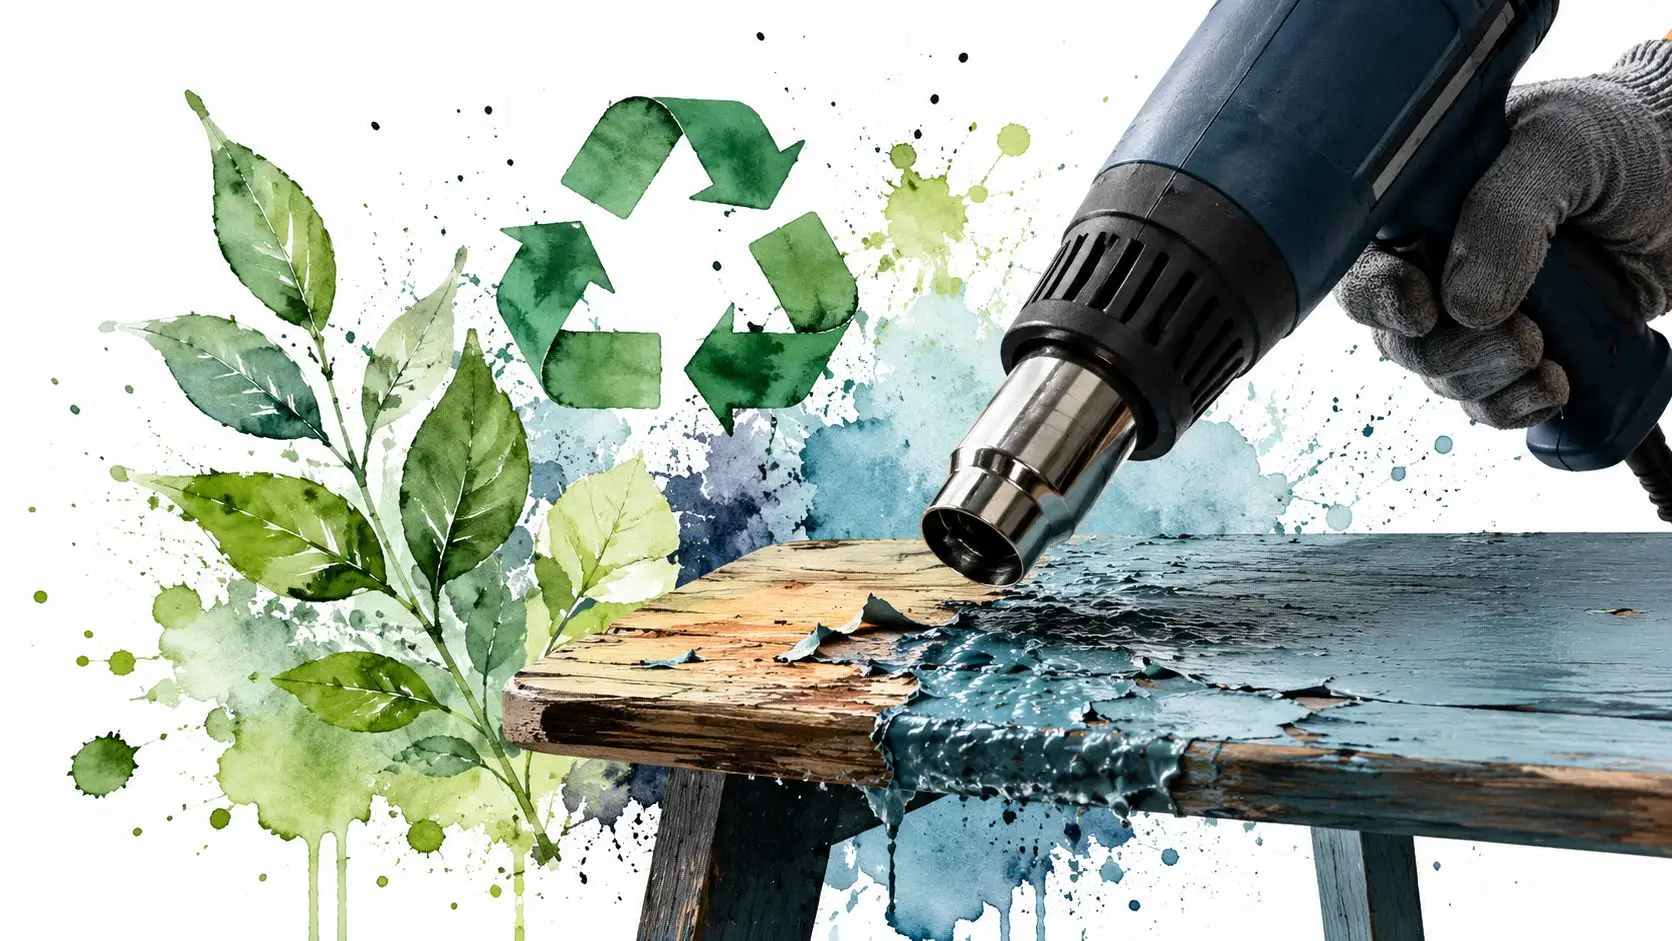
Not every project needs a chemical solution. Heat guns and sanding can make more sense on certain pieces, especially when the finish is already failing and the surface is simple. Heat can help lift paint from broad areas. Sanding can refine what remains after another removal method has done the first round of work. Neither method is automatically safer for every piece, especially around veneer or carved detail, but both belong in the conversation.
Ultra-low-VOC and biodegradable strippers have also gained attention, especially in California-focused conversations about materials and home projects. Recent guidance notes growing interest in these products in 2025–2026, and also points out that many require much longer soak times, sometimes up to 24 hours under plastic, in this discussion of furniture stripping methods and materials. For Bay Area homeowners, that trade-off may be worth it.
Households already moving toward lower-impact home care often take a similar approach in other areas of maintenance, and these eco-conscious cleaning solutions fit well with that broader mindset. The same principle applies to furniture. A gentler process can support long-term stewardship, even if it asks for more time.
Common problems and likely causes
- The finish isn't lifting: The product may need more dwell time, a thicker coat, or a better seal under plastic.
- The surface turned sticky: Evaporation likely happened too soon, or residue wasn't fully removed.
- One area stripped and another didn't: Different sections may carry different layers or repairs from earlier work.
- The wood looks fuzzy or tired: The method may have been too aggressive for that species or construction.
Some failures come from the product. Many come from mismatch. Wrong method, wrong thickness, wrong timing, or wrong expectations.
Readers interested in long-lasting home choices beyond refinishing may also appreciate a look at sustainable furniture materials, because preserving good furniture and choosing durable new materials both belong to the same conversation.
When to DIY vs When to Call an Expert
A straightforward painted stool or a utility table can be a reasonable DIY project. The risk is lower, the surfaces are simpler, and a small mistake won't erase major value. The same can't always be said for antiques, family heirlooms, veneered case goods, or pieces with carving, inlay, or sentimental importance.
That's where judgment matters more than confidence. If a piece is rare to the household, difficult to replace, or likely to lose value if handled poorly, professional refinishing is often the wiser route. The mess, the waiting, and the trial-and-error aren't the main issue. The risk to the furniture is.
There's also a second honest answer. Sometimes the best long-term move isn't restoration at all. It's replacing a compromised piece with one built for decades of use, in the right scale, wood, and finish from the start. A showroom that spans 50,000 square feet and offers custom order services for wood species, finishes, high-grade leathers, and designer fabrics makes that path possible for homeowners who want fewer compromises. Reworking an existing upholstered piece can also make sense in the right circumstances, which is why reupholstery options remain part of the conversation around preserving investment pieces.
For Furniture South San Francisco shoppers, Bay Area Interior Design clients, and anyone exploring Custom Furniture, Amish Furniture, Premium Mattresses, or rooms planned with the help of Non-Commission Sales Staff, the deeper point is simple. Choose what protects long-term value. Financing options are available, but durability and fit still matter more than the quick decision.
For thoughtful, no-pressure guidance on investment pieces, custom finishes, and lasting quality, visit the Giorgi Bros. Furniture showroom in South San Francisco or book a Design Consultation. With a family heritage dating to 1933, a non-commission environment, and a wide selection of custom options in wood species, finishes, leathers, and fabrics, the team helps Bay Area homeowners make informed choices that fit their homes for the long run.