
It's a familiar Bay Area evening. The new television fills the wall, the sofa sits a little too close to a bright window, and dialogue disappears every time someone opens a streaming app. A better home entertainment setup doesn't start with buying a bigger screen. It starts with decisions in the right order, screen and seat distance first, then furniture and wiring, then comfort and calibration, so each choice protects the next.
Screen Size and Seat Distance That Fit the Room
You may have bought a television for the wall it had to fill, not for the seat you'll use. That's the most common mistake, and it's the easiest to avoid. Measure before anyone orders a display, a console, or a sectional.
Start With One Measurement
Measure from the planned primary seat to the screen wall in inches. Divide that number by 1.5. The Dolby home theater setup guide uses viewing distance divided by 1.5 as a starting formula to estimate screen size. Treat the result as a starting diagonal in inches, not a command to buy the largest set that fits the wall.
Say your seat will sit 120 inches from the wall. Divide by 1.5 and you get 80 inches. That points you toward the 75 to 85 inch range, and then the room gets a vote. Door swings, a low soffit, and a walking path can all shrink the sensible choice.
Practical rule: If the room forces your sofa against the back wall, drop one screen size instead of accepting a cramped, boomy seat.
Check the estimate against viewing angles before you commit. A wider angle feels more immersive and puts the seat closer. A narrower angle feels calmer for mixed use, news, sports, and conversation. For a 100-inch 16:9 screen, that same Dolby guidance ties a 30-degree SMPTE viewing angle to roughly 13.56 feet and a 36-degree THX-style target to approximately 11.18 feet.
| Screen | When it fits |
|---|---|
| 65-inch 16:9 | Compact flats with the seat 7 to 9 ft from the wall |
| 75-inch 16:9 | Standard living rooms with the sofa 8 to 10 ft back |
| 100-inch 16:9 | Upper reference, not a default |
That 100 inch size is an upper reference, not a default for a narrow South San Francisco flat. If you can't sit far enough back without blocking a door or squeezing past the sofa, the screen is too large for that room, whatever the wall can hold.
Place the Seat and Speakers Around the Centerline
Put the main seat on the room's centerline, facing the middle of the screen. Keep the left and right speakers at equal distances from that seat. Toe them in toward the listener so the two speakers and the seat form a rough triangle.
Align the center speaker with the display's centerline, and leave its path clear. Don't tuck it behind a console door or below a shelf lip that blocks dialogue. Confirm the screen doesn't force constant head movement, and check furniture clearances before anything is mounted.
Two checks save rework later. First, sit in the planned spot at the time of day you'll watch most, and note window light on the screen wall. Second, walk the path from the entry to each seat. If you have to turn sideways past the sofa arm, the layout needs to change now, while it's still tape on the floor.
Consoles and Seating Built to Outlast the Gear
Screens get thinner, boxes get smaller, and soundbars come and go. The console and seating underneath them work best as investment pieces that stay through several rounds of gear. They also come second in the planning order. Seat distance and screen size set the layout, and the furniture follows that layout, so choose the cabinet after you know where people will sit.
The U.S. Environmental Protection Agency guide to its facts and figures report defines durable goods as products with an expected lifetime of at least three years. That is a low bar for a media console. A well built piece should remain useful far longer, and that longer life is where the value sits.
The waste numbers explain why it matters. The EPA durable goods product-specific data reports that furniture and furnishings generated 12.1 million tons of municipal solid waste in the United States in 2018, representing 4.1% of total municipal solid waste, and 80.1% of that furniture-related waste was landfilled. A flimsy console replaced every few years feeds that stream.
What to Ask Before You Buy
- Frame and joinery: Does the cabinet feel rigid when you push a corner, and do doors hang square?
- Repair path: Can hardware be replaced, a finish be renewed, or upholstery be redone instead of discarding the piece?
- Adaptability: Do shelves move when a taller component or a soundbar arrives?
- Depth and reach: Does each shelf carry the component's full depth, and can you get a hand behind the cabinet?
Leave a closed bay for a router and game boxes so blinking lights stay out of sight. Airflow gaps and cable routes belong to the wiring plan that comes next in the order; the job at this stage is picking a cabinet that leaves room for both. A hand's reach behind the console matters more than a perfect photo on delivery day.
Solid wood amish furniture, ordered in a chosen wood species and finish, is one durable path for a console. Seating ordered in a fabric or leather matched to how your household sits, snacks, and watches will age better than a showroom sample chosen on looks alone. With custom furniture ordering, the floor piece is a starting sample, not the only option.
A higher first cost can cost less over a decade when the cabinet stays and only the screen is swapped.
Be honest about the trade-off. Quality is no promise of zero impact. Extra foam, finish, and material only help when the piece can be maintained, repaired, and reused. Favor efficient material use and real repair options, the same thinking behind choosing long-lasting furniture in the first place. Then test the piece in person before committing: sit in the seat, push a cabinet corner, open the doors, and confirm it feels built to stay.
Plan and Install the Entertainment Area
Order matters because furniture can block a decision you haven't made yet. Follow a sequence, and each step locks in information the next step needs. Here's a calm way to work through a Bay Area living room or a multi-story Peninsula house.
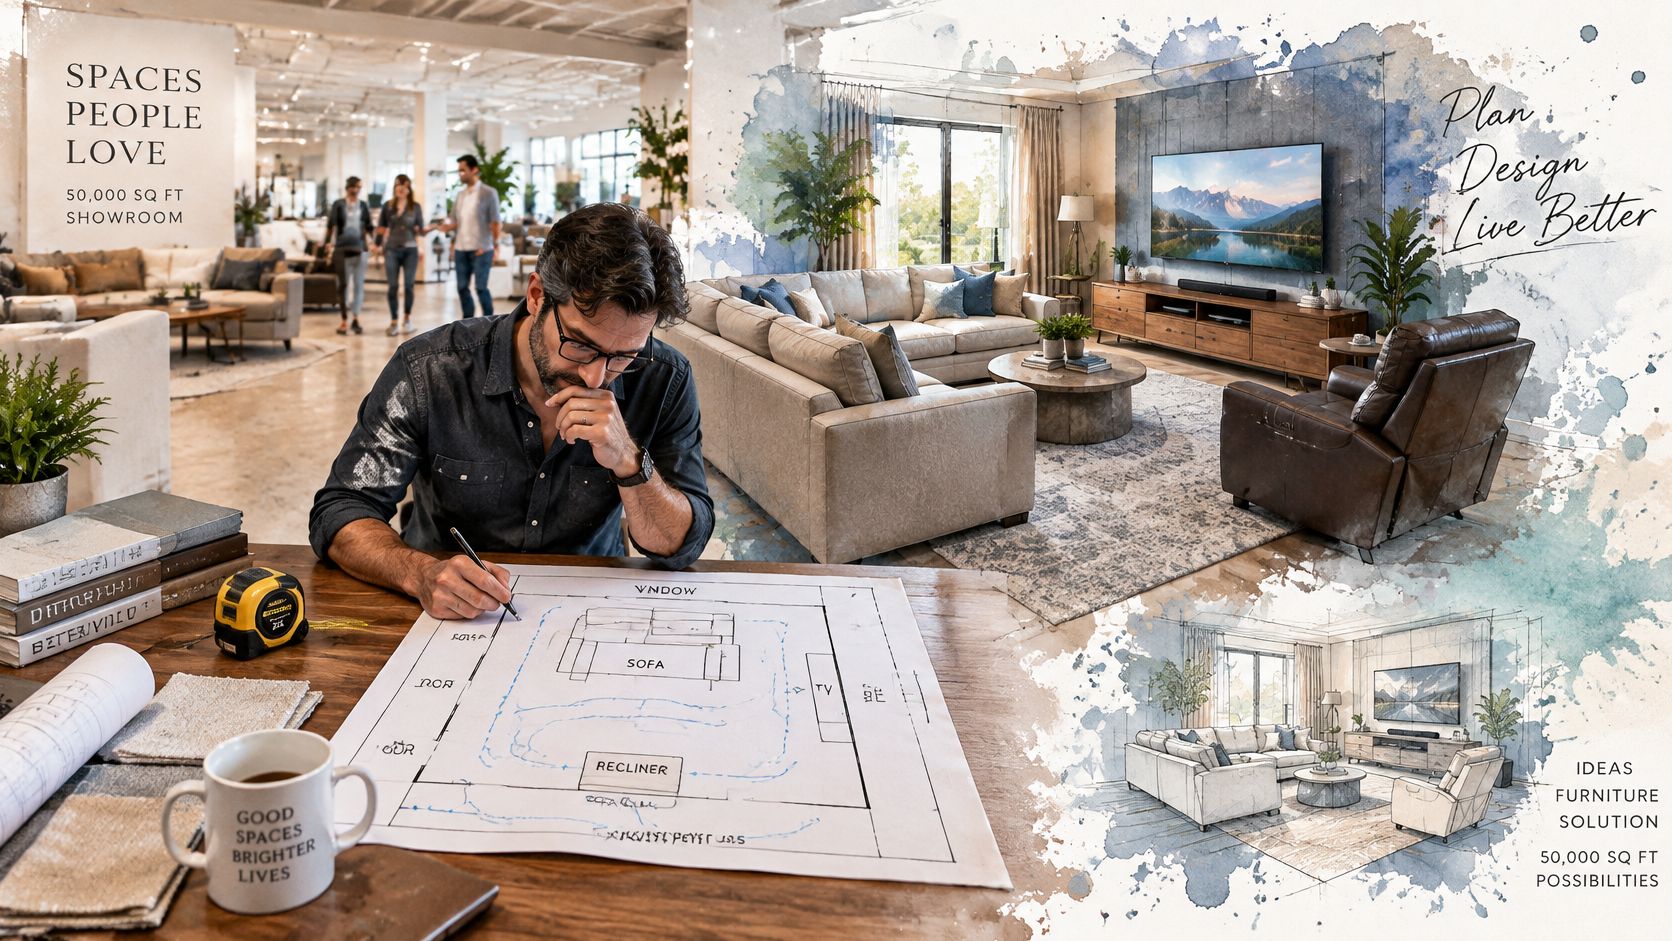
Seven Steps in Working Order
- Sketch the room: Mark doors, windows, soffits, and the walking path from the entry to every seat, because a layout that blocks traffic fails on ordinary days, not just movie nights.
- Lock the seat and screen: Use the measured distance to set both, then mark the speaker spots that follow from that seat.
- Decide who shares the room: Choose between one focused seat, a family sectional, or a movie seat plus a conversation seat set off the centerline.
- Place power and network access: Plan outlets, ethernet, and a stable home network before the console arrives.
- Set console depth: Match it to the cabinet you chose so components vent properly and ports stay within reach.
- Add soft surfaces: Put the rug and other soft furnishings in place, then judge echo only after they're down.
- Confirm final positions: Don't calibrate anything until seat, speakers, and rug are where they'll stay.
Step four deserves emphasis because the modern room runs on connectivity. Pew Research Center reports that 95% of U.S. adults use the internet and 80% subscribe to high-speed internet at home. Plan for several connected devices, a television, a streaming box, a game console, wireless speakers, rather than a single cable box.
In a multi-story Peninsula house, keep the media seating path off the main stair traffic so people aren't crossing the screen during a film. In a flat, protect a clear walkway behind or beside the seating. Both cases reward the same habit, sketching first and measuring twice, the core of good room layout planning.
Tape the screen outline on the wall and the sofa footprint on the floor. Live with the tape for a day. You'll notice the door that swings into the speaker spot and the lamp that lands in the screen's reflection. Tape is cheap. Moving a mounted display isn't.
Wiring and Concealment for a Clean Room
Cables planned early disappear. Cables planned late cross baseboards, dangle from mounts, and turn a calm room into a workbench. Run the wiring in the order a crew would: after the screen wall and console are decided, before the cabinet slides against the wall.
Run It Once, Leave Room to Change It
- Install a low-voltage line or conduit: Run it from the equipment bay to the screen wall for HDMI, optical, or fiber. Choose a conduit wide enough to pull a replacement cable through, so a future upgrade doesn't need new holes.
- Put power inside the bay: Place a surge-protected strip and a labeled outlet inside the cabinet, within reach, rather than behind a sofa where you can't get to it.
- Wire the display wall: While access is easy, run ethernet from the network bay to the screen. A cable is steadier for streaming than a wireless signal stretched across the house.
- Hide surface cords: Use a paintable raceway along the baseboard for any cord that can't go in the wall, and keep bay doors closed so the room stays visually quiet.
- Leave a service loop: Coil extra cable length behind the console so a larger display or a new box can be swapped without pulling the whole rack apart.
Service loop check: You should be able to pull a component forward, swap one cable, and slide it back without unplugging everything else.
Label both ends of every cable with a small tag. Six months later, nobody remembers which black cord feeds the streaming box. Labels turn a frustrating afternoon into a five minute fix.
Many older Bay Area homes still have lath-and-plaster walls, and plaster behaves nothing like drywall. A scored cut that would open drywall cleanly cracks past the line in plaster, and a careless saw can loosen the keys that grip the wood lath behind it. A licensed electrician can open clean channels for in-wall power and keep the run up to code. That is not the place to improvise.
Ask for access panels at the back of the cabinet, a standard feature worth confirming on custom TV stands. With a removable back panel, a repair or a new cable doesn't require moving heavy furniture or disconnecting the entire setup.
Good concealment is mostly timing. Holes are easy while the furniture is pulled out and painful once the room is finished.
Seating Light and Controls People Can Use
A sharp picture still fails if someone can't sit comfortably, see clearly, or find the show. Screen distance came first, then furniture placement, then the wiring went into the walls. These last choices sit on top of all that work, and they're the ones guests notice. Design for the oldest guest, the youngest viewer, and the person holding a plate of food. If the room works for them, it works for everyone.

Seating That Supports Real Bodies
Choose a seat height that lets an older adult or a guest stand up without a struggle. Very low, deep sofas look relaxed and trap people with sore knees. Test the sit-to-stand move in person, twice, before you buy.
Leave a clear path in front of recliners so open footrests don't block the walkway. Power headrests and lumbar support carry you through long films, and they're worth trying on the showroom floor. A simple manual seat still earns its place, though. It works during an outage and never needs a remote to sit down.
Light in Layers, Not One Bright Switch
Dim the room in layers rather than relying on a single overhead light. Light has three jobs here. A low lamp near the walking path keeps trips safe during a pause. A separate dim control for the screen wall keeps light off the picture. And enough ambient light lets you read a face during conversation, because a living room isn't only a theater.
Reduce glare at the source. A rug, a textile wall hanging, or a darker paint tone opposite a bright Bay Area window softens reflections. Fighting the glass with a bigger, brighter television just raises the bill without solving the problem.
Controls a Guest Can Use Without a Lesson
Keep one remote, or one on-screen home row, for the apps your household opens. Easy search matters more than a long app list. Advanced Television's survey coverage reports that 60% of surveyed U.S. viewers call easy content search "very important", and 56% rarely add apps after the first day with a new television. The first day's setup decides later use, so set it up deliberately.
- Profiles: Separate adult and child profiles so recommendations and controls stay sane.
- Captions: Turn on clear captions and a dialogue-forward sound mode before movie night, not during it.
- Storage: Put controllers and remotes in one reachable drawer, every time.
- Backup: Voice control can help, but keep a physical remote that works when the network drops.
That's the quiet goal of good Bay Area interior design for media rooms. A guest sits down, finds the game, reads the captions, and never asks for instructions.
Fixes for Glare Muddy Bass and Lost Dialogue
A receiver's automatic calibration is a first draft. After the furniture, rugs, and soft surfaces are in place, check the setup from the center seat. Confirm speaker distances, polarity, and crossover settings, then listen to a familiar scene.
The Dolby Atmos home theater installation guidelines recommend calibrating full-range speakers to the same C-weighted sound-pressure level at the central seat, approximately 79 to 82 dB SPL(C) using pink noise at -20 dBFS. Use that as a reference, then check whether voices and effects sound balanced where you sit.
| What you notice | Usual cause | First fix |
|---|---|---|
| Dialogue hard to follow | Center speaker blocked or below ear height | Clear the path, raise the center, and aim it toward your seat |
| Bass only in one seat | Seat on the rear wall or sub in a corner | Move the seat forward and try a different sub position |
| Picture washed out by day | Screen settings not suited to the room's light | Adjust picture brightness and contrast for daytime viewing |
| Weak overhead effects | Vaulted, high, or absorbent ceiling | Use a flat, reflective ceiling about 7.5 to 12 ft high, or skip up-firing speakers |
| Sound favors one side | Unequal speaker distance | Remeasure from the center seat and re-aim |
Match Each Symptom to One Listening Check
Thin dialogue often points to a center speaker that is blocked, too low, or aimed away from the listening position. Raise it toward ear height, clear the path, and replay a quiet conversation scene. Voices should seem to come from the screen.
Boomy bass can result from sitting against a wall or placing the subwoofer in a corner. Move the seat forward a little, then try the sub along the front wall, away from the corner. Play familiar music and listen from more than one seat. The bass should sound reasonably even across the room.
Weak height effects may come from a ceiling that absorbs or scatters reflected sound. Dolby's guidance describes up-firing Atmos speakers as best suited to flat, reflective ceilings about 7.5 to 12 feet high, with support up to about 14 feet. Place them at least 3 feet from listeners, ideally 5 feet or more. A vaulted or heavily absorbent ceiling may call for skipping up-firing speakers.
If automatic calibration gives implausible speaker distances, measure again from the center seat and enter the distances manually. Finish with a familiar scene. Check that dialogue stays clear from another seat and that bass does not overwhelm one corner.
Book a South San Francisco Design Consultation
Bring three things to a design consultation: the room sketch, the measured seat distance, and a photo of the window wall. Those three items let a consultant plan around your actual room instead of a guess. The sketch carries the decisions in order, with screen and seating marked first and furniture placed around them. The process behind that first meeting is laid out in the interior design consultation process.

Giorgi Bros. Furniture is a family-owned showroom with more than 90 years of history in South San Francisco. Customers can visit to touch, feel and experience furniture before buying, across 50,000 square feet where you can sit in a sectional and open a cabinet before deciding.
The store's non-commission design consultants plan the room around your measurements rather than around a sales quota. Customers can design a custom piece of furniture at Giorgi Bros., choosing wood species, finishes, leathers, and fabrics, including Amish pieces built to last. Flexible financing options are available for shoppers who prefer to spread out a larger room project.
Entertainment displays sit with the living room collections, so console, seating, and storage get planned as one room. Mattresses for the rest of the house are part of the same visit, handy for whole-home projects. Giorgi Bros. personnel set up delivered items in the customer's home and take away all packaging materials, with in-store pickup available when that's simpler.
Start with the sketch. A room measured once, furnished for the long term, and calibrated after everything is in place will still work when the next screen arrives. That is a home entertainment setup built in the right order.
Visit Giorgi Bros. Furniture to explore custom consoles, seating, and storage for your home entertainment setup, all planned around your room's real measurements. Book a design consultation or stop by the South San Francisco showroom, and bring your sketch so the team can help you build a room that stays comfortable long after the next screen upgrade.