That faded leather sofa in the corner still sits well, still feels broken-in in the best way, and still belongs in the room. The color just doesn't hold up the way the rest of the piece has. For a homeowner looking at a good investment piece, the question isn't whether the sofa is old enough to replace; it's whether it deserves a careful restoration instead.
At a family business that's guided Bay Area homeowners since 1933, that question has always mattered. Quality furniture isn't meant to be treated like a short-term purchase, and a thoughtful recolor can fit the same buy it for life mindset that keeps a well-made chair, sectional, or sofa in service for years longer. That's also why dyeing leather furniture should be approached with no-pressure guidance, not a rushed fix. The goal is to protect the value already built into the piece, not cover up mistakes with a quick coat of color. Learn more about long-lasting furniture.
A Second Life for Your Investment Piece
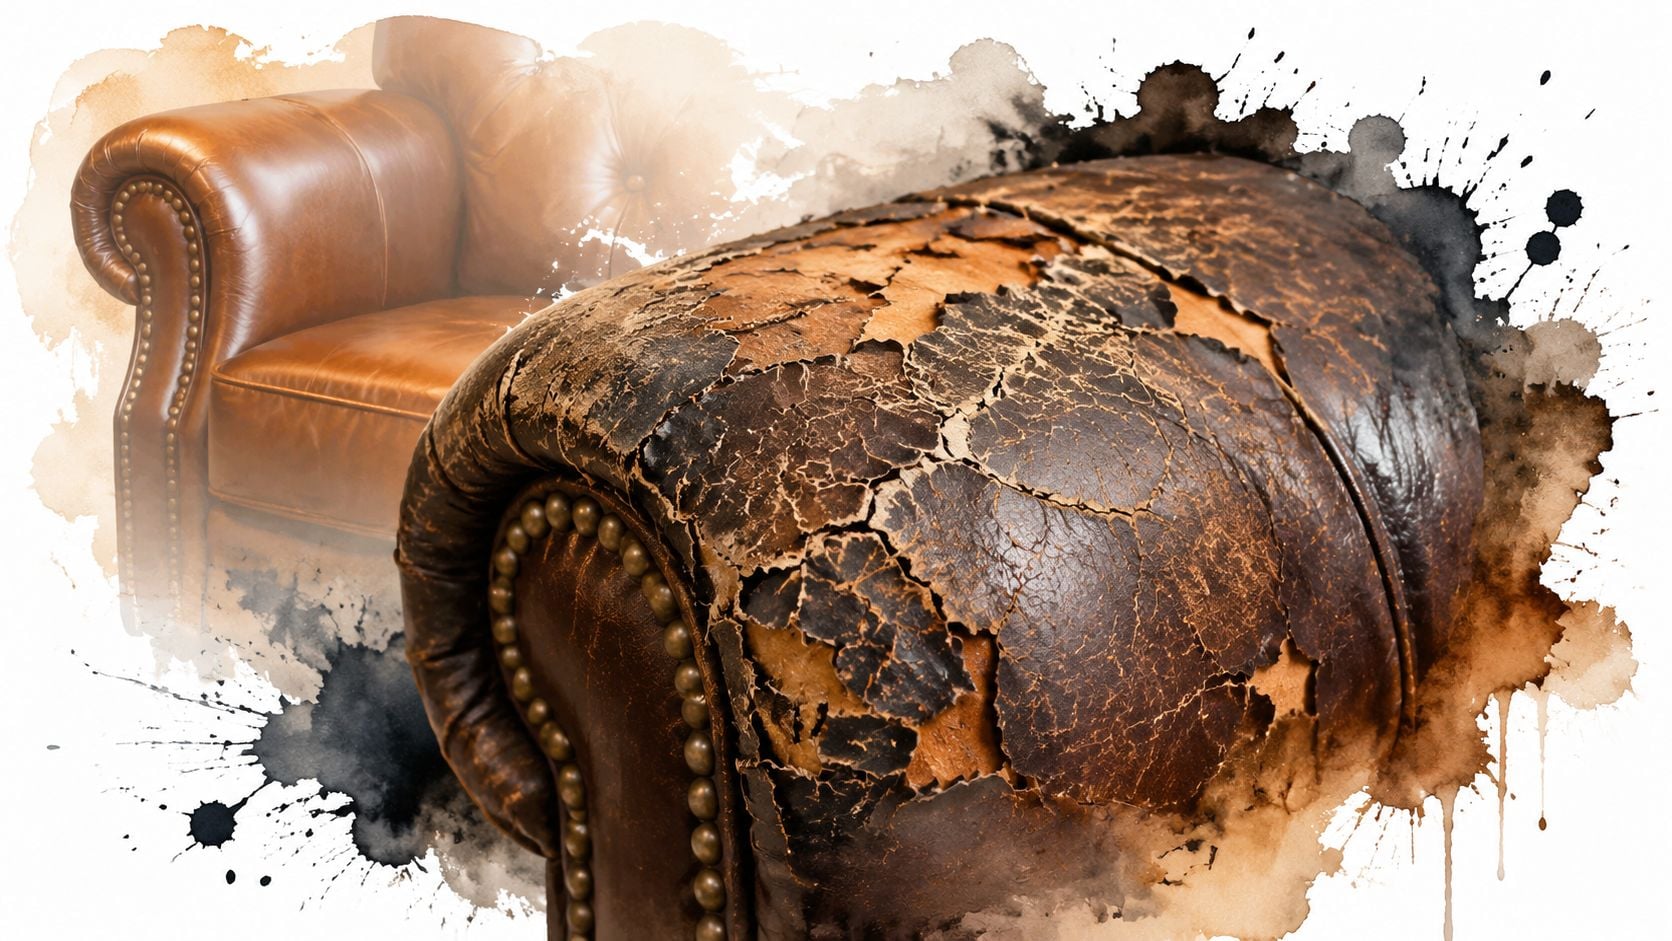
A leather sofa usually tells on itself before it fails. The arms get lighter where hands land every day, the seat panels lose depth near the front edge, and sunlight can leave one section looking tired while the rest still feels rich. That's the moment many homeowners start weighing replacement against restoration, and for a well-made piece, restoration often makes more sense.
A recolor isn't a shortcut around craftsmanship. It's a way to respect it. Leather has long been colored with plant-derived materials, and modern finishing has moved toward more controlled methods that focus on consistency, durability, and lower environmental impact, which shows how far the craft has evolved beyond simple surface tinting (peer-reviewed review on leather coloring). That history matters because furniture dyeing is still about the same core idea, extending the life of something worth keeping.
Practical rule: If the frame is sound, the cushions still serve the room, and the leather type can accept color, a careful dye job can be a smart restoration move.
That philosophy fits a home the same way a well-chosen custom piece does. A family that has spent decades helping Bay Area homeowners choose furniture knows the difference between a throwaway fix and a lasting decision. The better choice is the one that protects the investment already in the room, especially when the alternative is sending a perfectly good piece to the curb.
That's why the question of how to dye leather furniture starts with judgment, not tools. A good refinishing project supports the life of the piece. A bad one distracts from it.
Before You Begin Can This Leather Be Dyed
The biggest mistake is assuming every leather sofa can be dyed the same way. It can't. Some hides absorb color readily, while others have a surface coating that resists penetration and turns a DIY recolor into a gamble. That distinction is the line between a smart project and an expensive regret.
Aniline leather is usually the most absorbent because it's less heavily finished. Semi-aniline has some protection but can still accept refinishing in the right conditions. Pigmented or finished leather is more sealed, which means dye may not penetrate properly unless the existing finish is addressed first. A useful overview of those leather grades helps homeowners avoid guessing games before they start leather grades explained.
A simple water drop test can help reveal absorption. Place a small drop of water in a hidden spot, then watch what happens. If the water darkens the leather and begins to absorb quickly, the surface is more open. If the drop beads up and sits there, the leather is more protected and may need professional evaluation before any color change.
If the finish fights water, it will usually fight dye too.
That's why the first decision is not color selection, it's compatibility. Leather furniture is often a major investment, and the wrong assumption can create a mark that doesn't wash out or a surface that no longer looks even. Some pieces are better candidates for recoloring than others, and those with protected, pigmented, or heavily finished surfaces may need a different route altogether.
For homeowners choosing between a DIY project and a professional restoration, that check protects both the furniture and the budget. It's also the point where a custom replacement starts to become the smarter answer for some rooms. The key is to know the material before any prep work begins, because prep on the wrong leather only digs the hole deeper.
Gathering Your Tools and Prepping the Surface
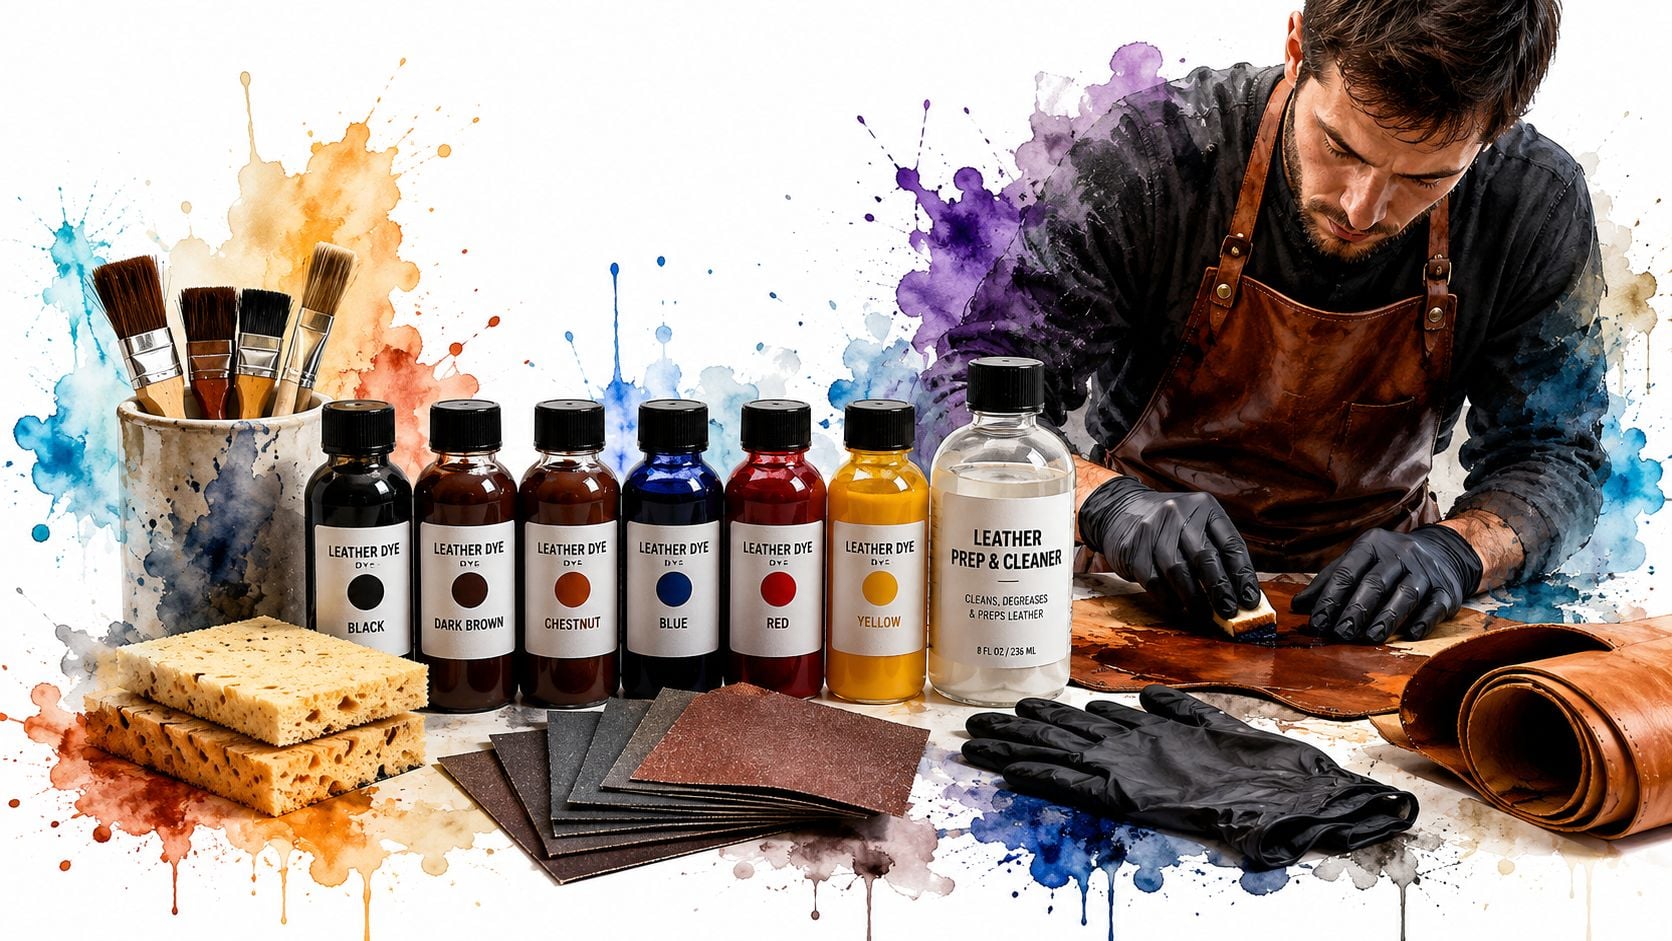
A good finish starts before the first drop of dye touches the leather. Seam dust, body oils, and leftover finish all block absorption in different ways, so the prep stage has to be handled like real surface work, not a quick wipe-down. That's where most amateur projects lose their chance at an even result.
A professional-style sequence begins with vacuuming seams and creases, then cleaning the furniture with a proper leather cleaner or a mild soap solution, and letting the piece dry completely before any surface opening begins (Biltrite Furniture on leather dye prep). Once dry, the finish is lightly sanded or deglazed to enable the leather to accept color more evenly, as the old finish, designed to resist wear, would otherwise work against new dye.
The work also benefits from a controlled setup. A leather preparer or deglazer removes the topmost barrier, while clean applicators help prevent grit from scratching the surface. Starting in the least visible area and moving panel by panel keeps the edge wet and avoids hard tonal breaks, which is a practical habit on large furniture pieces where arms, seat cushions, and side panels all catch the light differently (Biltrite Furniture on leather dye prep).
A simple checklist keeps the process grounded:
- Vacuum every seam first. Dust trapped in stitching can show through the new finish.
- Clean gently, then wait. Wet leather and dye don't mix well.
- Open the surface. Deglazing or light sanding gives the dye a path in.
- Protect surrounding surfaces. If the sofa needs to stay in the room, covers for moving settees can help keep nearby fabric and flooring from taking accidental splashes.
- Test on the least visible panel. That first pass shows how the leather responds before the whole piece is committed.
For homeowners who want to avoid overdoing the prep, this is a useful place to lean on a restoration mindset rather than a speed mindset. Best furniture stripper guidance can also help frame the difference between opening a finish carefully and attacking it too aggressively. The more even the prep, the more even the final color.
The Art of Application Applying Dye for an Even Finish
Once the surface is ready, patience becomes the main tool. The best results come from multiple thin coats, not one heavy pass that sits on top of the leather and leaves lap marks, streaks, or shiny puddles. A measured approach gives the color time to settle across stitched seams, curved arms, and worn seat panels without forcing it into corners all at once (wikiHow on dyeing leather).
Wiping or spraying
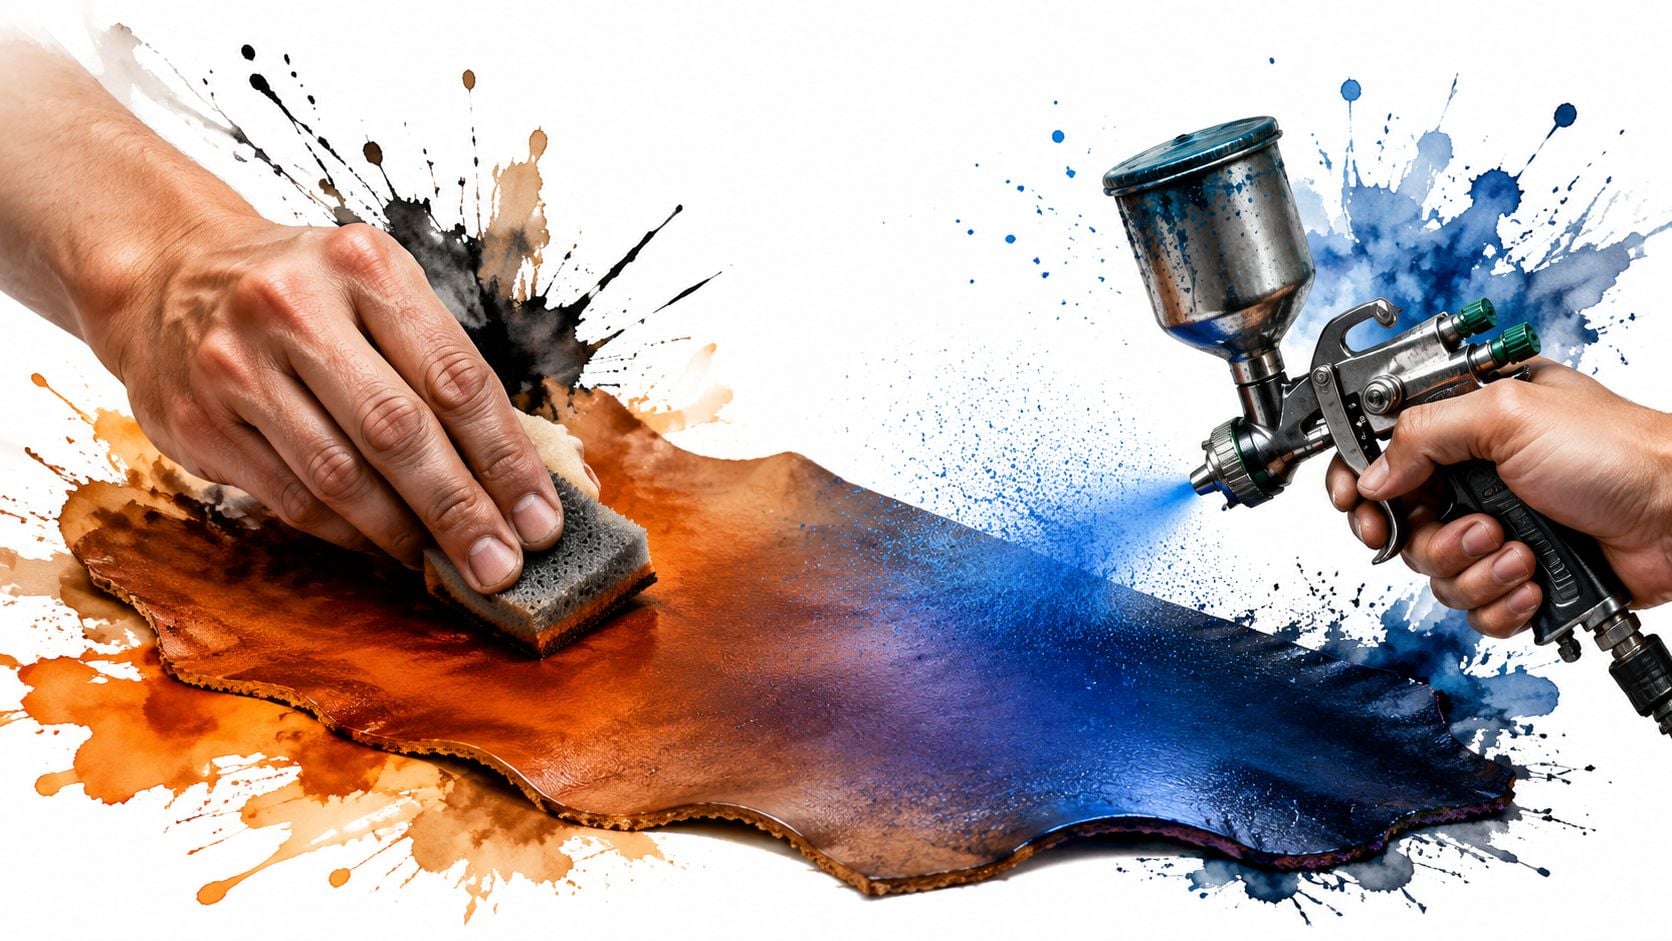
Wiping gives more control on small areas, especially if the furniture has a lot of texture or detailed seams. Spraying can produce a more uniform look on large, open panels when the setup and skill level support it. Either way, the work should move steadily enough to keep a wet edge, which means each new section blends into the last before the prior one flashes dry.
That wet edge matters because leather furniture is not one flat sheet. A cushion front, arm panel, and side skirt each catch dye a little differently, and stopping in the middle of a surface often leaves a visible break. Working panel by panel helps keep the color consistent, especially where stitching and creases interrupt the flow.
Building color the right way
A light first coat usually looks too thin. That's normal. The color deepens as each layer dries and the next one goes on, and most successful refinishing workflows use at least 3 thin coats, with some projects needing 3 to 6 coats to achieve a smooth finish without pooling or streaking (wikiHow on dyeing leather). Heavy applications can look richer at first, but they tend to dry unevenly and can crack or rub off sooner.
Thin coats are slower, but they're safer on stitched furniture and far more forgiving at the edges.
Tricky areas deserve a little more restraint. Tufts and button details can trap excess dye. Corners and seam lines can darken faster than broad panels. A light hand keeps those spots from turning blotchy, and a clean applicator keeps color transfer from turning muddy.
Craft is restraint. The person doing the work should expect the sofa to change gradually, not instantly. A refined finish is usually built, not brushed on in one dramatic pass.
Sealing Curing and Long-Term Maintenance
Dye alone isn't the finish. A sealer locks the color in place and gives the surface a better chance of holding up to everyday contact, moisture, and normal wear. Without that final layer, even a well-dyed piece can look good for a while and then start losing its edge too soon.
Timing matters just as much as the sealer itself. Leather dye can take 24 to 48 hours to dry, and the finished piece should cure for a minimum of 72 hours before regular use, which means the whole project may sit for several days before it's ready to return to the room (Lowe's on dyeing a leather couch). That waiting period isn't wasted time. It's the part that lets the color and finish settle into something durable.
A few habits help protect the result after the piece is back in use:
- Keep the first days gentle. Light use is better than immediate heavy contact.
- Avoid harsh cleaners. A mild leather-safe approach keeps the new finish from being stripped early.
- Watch direct sunlight. Fading starts with exposure, not age alone.
- Clean seams carefully. Dirt builds up fast where hands and cushions meet.
- Revisit protection periodically. A sealed surface still benefits from thoughtful upkeep.
The maintenance side is where a restored piece proves its value. A recolored sofa that's cared for properly can remain part of the room instead of becoming another project. For owners comparing refinishing against a broader refresh, upholstery cleaning services can be part of the longer plan for keeping investment pieces in service.
The smartest expectation is simple. Dyeing leather furniture is not a one-afternoon fix. It's a process that rewards patience at every stage, from prep to cure, and that patience is what gives the final finish a chance to last.
When to Call a Professional The Giorgi Bros Custom Approach

Some pieces are too important for a trial run. If the leather is badly cracked, peeling, or already patched in several places, a DIY recolor can make the damage more obvious instead of less. The same caution applies to antiques and high-value custom pieces, where the finish needs to be judged as carefully as the frame.
Leather finishing has also become a highly technical field. Modern research focuses on efficiency and environmental footprint, which reflects how far the craft has moved from traditional plant-derived colorants toward controlled industrial processes (peer-reviewed review on leather coloring). That shift is a good reminder that professional restoration often depends on more than household tools and good intentions.
For homeowners who want a no-pressure second opinion, a Design Expert can help weigh the options. Sometimes the answer is not dyeing at all. It may be a new custom piece with the right leather, wood species, and finish chosen from the start, which is where a true investment piece earns its keep over time. For readers comparing repair with replacement, is it worth reupholstering a sofa is the kind of question that deserves honest, careful judgment.
Those who want to understand the difference between restoring a chair at home and handing the work to a professional can also benefit from hiring expert furniture painters as a reminder that finish work has a learning curve. The right call is the one that protects the piece, the budget, and the long-term look of the room.
Bring your leather questions to Giorgi Bros. Furniture, where non-commission Design Experts offer no-pressure guidance, custom order options, and a showroom full of investment pieces that are built for life. Visit the South San Francisco showroom to compare leathers, finishes, and custom possibilities in person, or book a Design Consultation to find the smartest path for your home.